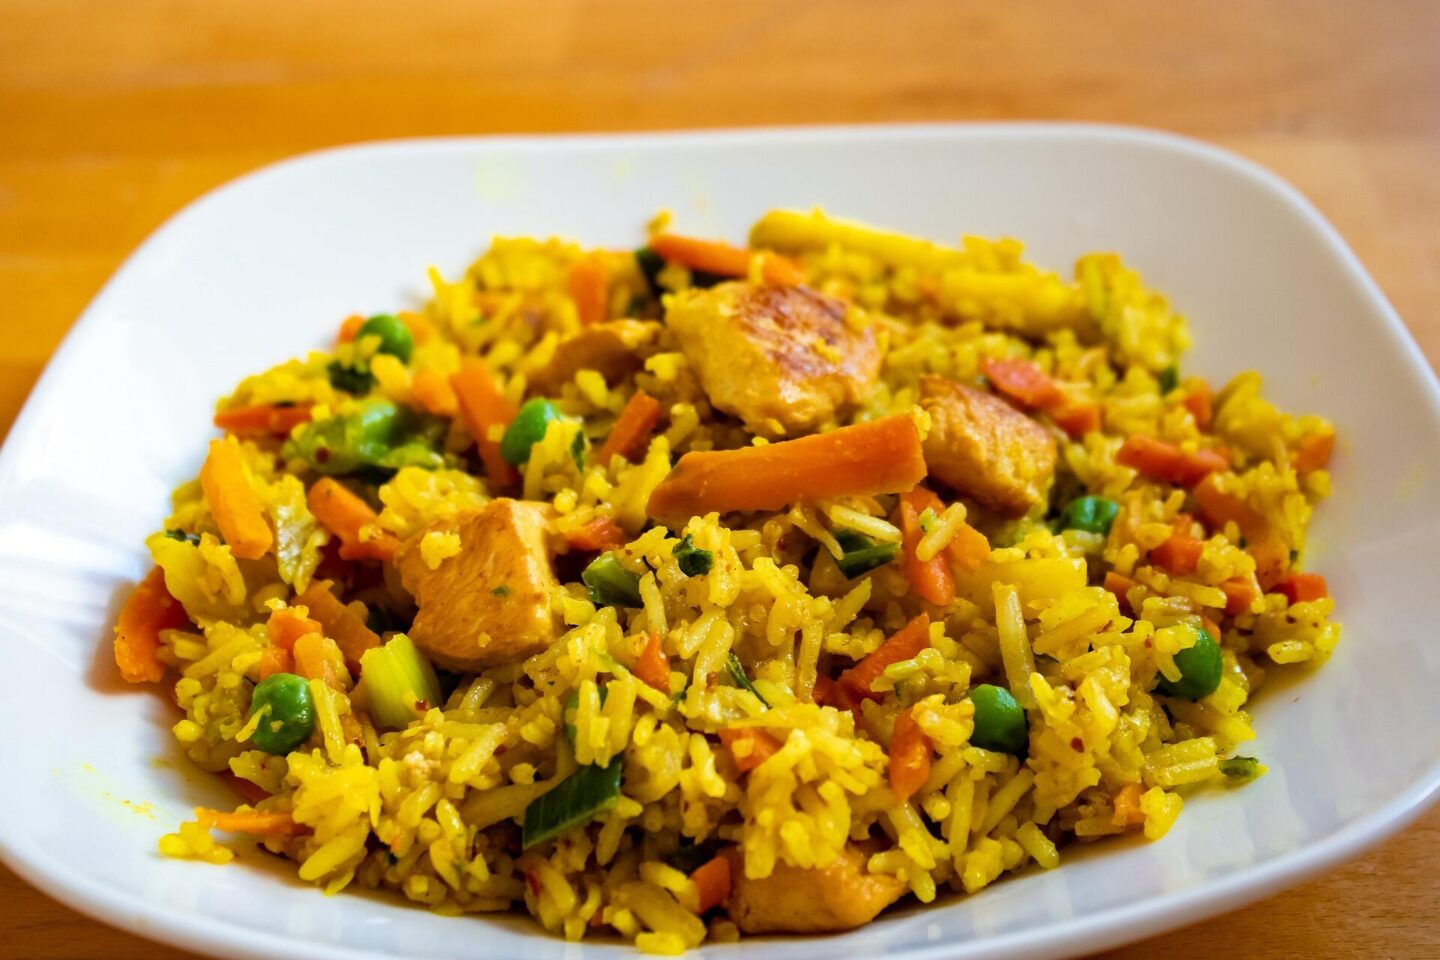
For many, fried rice is the universal Asian dish—not only does it have multiple variations across East Asia, but there are also versions of it in other continents, such as Africa and the Americas. In recent years, the fried rice called chaufa rice, which originates from South America, is becoming increasingly popular among foodies. Do you want to know what this dish is and how it is made? Then read on.
Peruvian fried rice
Simply put, chaufa rice is Peruvian-style fried rice. The origin of this dish is said to be the fried rice made by Chinese immigrants in Peru in the late 19th or early 20th century.
Although Peruvian cuisine has been best known internationally for delicious and famous dishes such as ceviche—Peruvian “sushi”—, chaufa rice has become increasingly popular. This popularity has been aided by the fact that fried rice, in their Chinese and other Asian versions, was already and still is a great favourite on all continents.
Inside Peru, chaufa rice also has several regional versions. In any case, the important thing is to use appropriate and good quality ingredients, as in the easy and tasty chaufa rice recipe that you can read at carolinarice.com/recipes/arroz-chaufa/.
The chaufa rice’s four
Regardless of all its variations inside and outside Peru, chaufa rice always has four basic ingredients—besides rice, of course—: chives, bell pepper, soy sauce, and egg.
Chives, scallion, or spring onion gives a touch of green to chaufa rice and replaces with advantage the ordinary round onion, although there are those who, not willing to lose their habit, add small pieces of ordinary onion to the frying mixture. In any case, this does not damage the recipe in any way, and it only depends on the taste of the cook and the diners to cook with other seasoning.
Bell pepper is the second member of this quartet and is the genuine South American contribution to chaufa rice. Red or yellow peppers are usually used to make a nice chromatic contrast with the green of chives, but it is by no means forbidden to use green peppers. Instead of bell pepper, some ají—the South American chilli—can be used, and if we add hot chilies, we will obtain a spicy chaufa rice, perfect for lovers of dishes with intense flavours.
Thirdly, we meet soy sauce, the ideal sauce for chaufa rice. As this condiment is usually very salty, it is necessary to moderate the amount of salt used to prepare the dish.
Finally, egg is the fourth basic ingredient for chaufa rice. Scrambled eggs are generally used. Of course, eggs should be scrambled before adding them to the rice. On the other hand, there are those who follow the custom of making an omelette and cutting it into several thin strips, and then add these strips to the rest of the ingredients.
Usually chicken, but also beef or pork
In addition to chives, peppers and eggs, chaufa rice contains chunks of meat. The most popular versions have chicken, but beef or pork can also be used.
The most commonly used chicken part for chaufa rice are breasts, which can be easily roasted and cut into pieces. Of course, other parts can be used, although you must be willing to take on the work of removing bones before cutting the other chicken parts into pieces.
If beef or pork is preferred, the softer, leaner cuts, such as beef tenderloin or pork leg, are generally used. As done with chicken, these cuts should be added to the rice already cut into pieces.
The secret: cook them separately
The best way to cook chaufa rice is to prepare each group of ingredients separately:
- First, cook the rice using the procedure you already know for making plain white rice.
- While the rice is cooking, scramble the eggs.
- When the scrambled eggs are ready, roast the pieces of meat with a little salt and additional seasoning—e.g. a little cumin—for about 10 minutes.
- In a frying pan, sauté the chopped vegetables in a little oil.
- Finally, fry the rice in a little oil mixed with soy sauce for about five minutes. As the rice is frying, add the pieces of meat and scrambled eggs, stirring and mixing well all ingredients.
For those who prefer a more intense flavour, a little grated ginger can be added in step 4.

